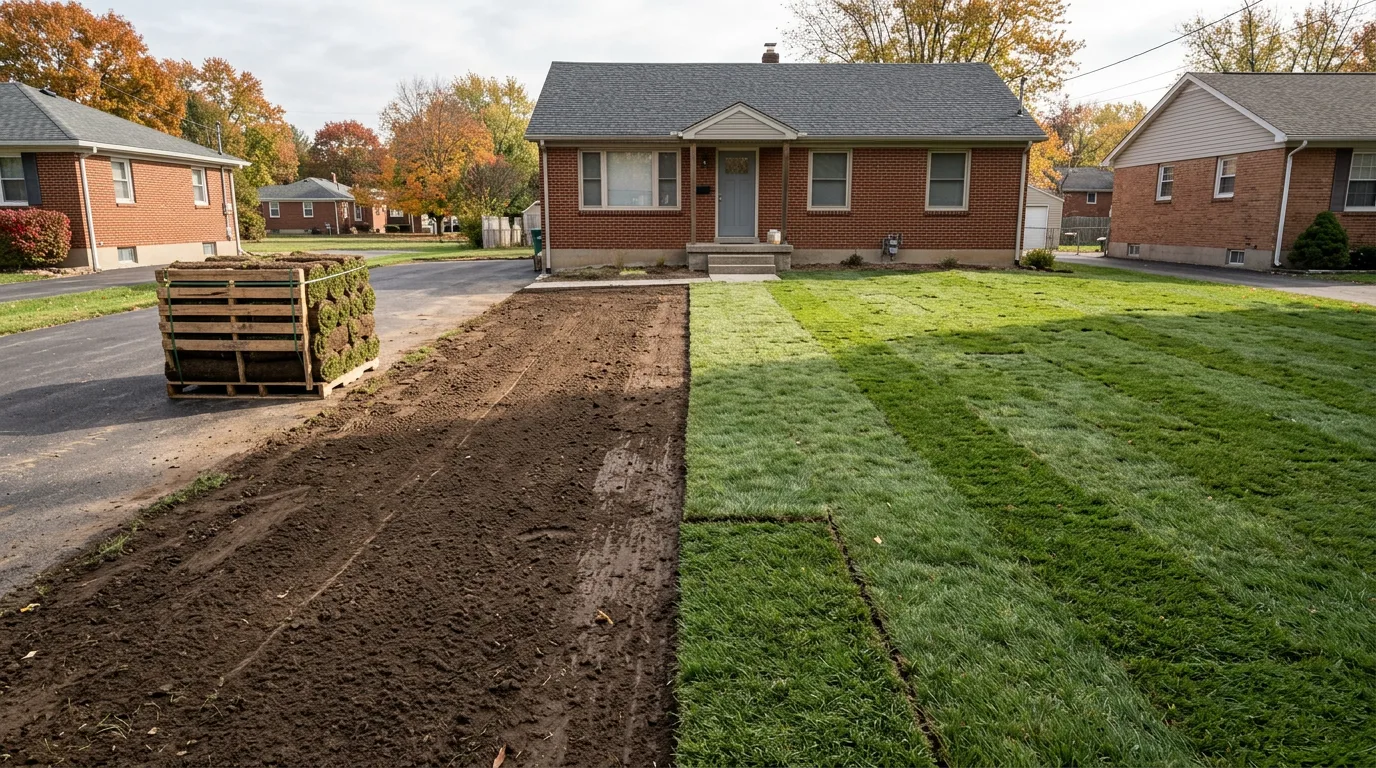
Almost every rain garden guide gives you the same number: make it about 20% of the area draining into it. That number is a national average of a figure that legitimately ranges from 3% to 43%, and the single biggest thing that moves it is not your soil — it is how far the garden sits from the downspout. A rain garden 30 feet away from the house needs roughly a sixth of the area of the same garden built right beside it, because the lawn in between does most of the work first.
The sizing tables that say so have existed since 2003, in a state agency manual most blogs cite in passing and none reproduce. They are below, with the slope bands that set your depth, the two tests that decide whether you can build one at all, and what rebate programmes actually pay — which is not what their headline rates suggest.
What a rain garden is — and the two things it is not
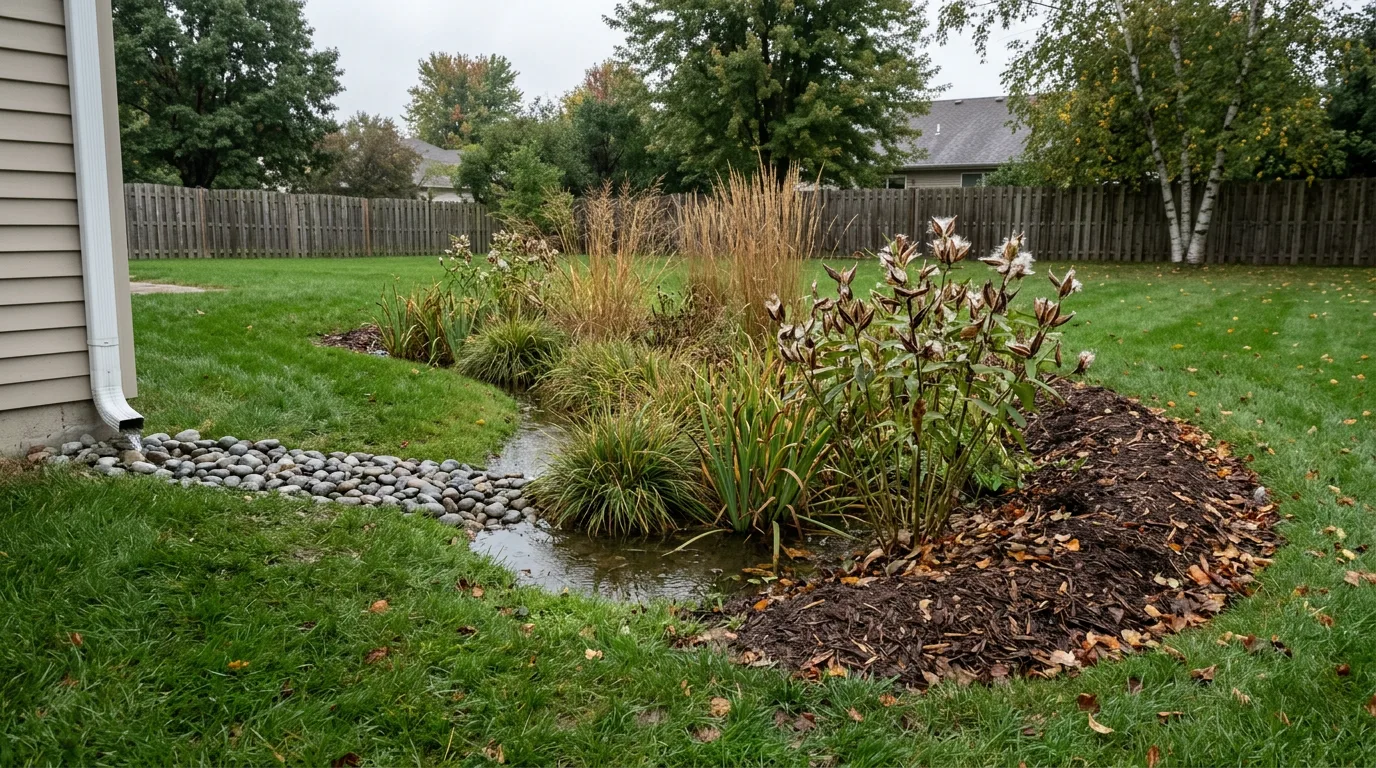
A rain garden is a shallow, planted depression that catches runoff from a roof, a driveway or a lawn and lets it soak into the ground over a few hours instead of running to a storm drain. It is dug a few inches below the surrounding grade, banked on its downhill side with a low earth berm, and planted with things that tolerate both a brief soaking and a dry August.
Two clarifications save most of the mistakes:
It is not a pond. It is dry most of the time. It holds water for hours after a storm, not days. If yours holds water for days, it is in the wrong place or the wrong size, and the fix is drainage, not plants.
It does not go in your existing wet patch. This is the most common and most expensive error in the whole subject, and the Wisconsin manual is blunt about it: “Some people think the best location is where water already ponds. Don’t! The goal of a rain garden is to encourage infiltration, and your yard’s wet patches show where infiltration is slow.” A soggy corner is evidence against that corner. If standing water is your actual problem, start with how to fix garden drainage — a rain garden is a runoff tool, not a remedy for a high water table.
Size it: the factor table nobody reproduces
The canonical homeowner sizing tables come from Rain Gardens: A how-to manual for homeowners (WDNR PUB-WT-776 / UWEX GWQ037), written by Roger Bannerman of the Wisconsin Department of Natural Resources and Ellen Considine of the U.S. Geological Survey. It dates from 2003 and is still redistributed by state and city agencies across the country, which is why the same numbers surface, unattributed, in dozens of guides.
You multiply your drainage area by a size factor. The factor depends on three things: your soil, the depth you are digging, and whether the garden is within 30 feet of the downspout.
Table 1 — rain garden less than 30 feet from the downspout
| Soil | 3–5 in. deep | 6–7 in. deep | 8 in. deep |
|---|---|---|---|
| Sandy | 0.19 | 0.15 | 0.08 |
| Silty | 0.34 | 0.25 | 0.16 |
| Clayey | 0.43 | 0.32 | 0.20 |
Table 2 — rain garden more than 30 feet from the downspout
| Soil | Size factor, all depths |
|---|---|
| Sandy | 0.03 |
| Silty | 0.06 |
| Clayey | 0.10 |
Read those two tables against each other and the point lands: a clayey, shallow garden beside the house needs 43% of its drainage area. A sandy garden more than 30 feet away needs 3%. That is a fourteenfold spread inside one method, and a single rule of thumb cannot sit anywhere useful inside it.
Finding the drainage area (this is where people overshoot)
For a garden within 30 feet of the downspout, the drainage area is not your roof. It is the share of the roof that feeds that one downspout. The manual’s guidance: many houses have four downspouts, each taking about 25% of the roof, so measure the house footprint and multiply by that share.
For a garden more than 30 feet away, add the area of uphill lawn that slopes into it to the roof share.
Worked example, from the manual: a house 60 ft × 40 ft has a 2,400 sq ft roof. One downspout takes about 25% of it, so the drainage area is 600 sq ft. The lawn has a 5% slope, which sets a 6-inch depth, and the soil is silty — size factor 0.25. So 600 × 0.25 = 150 sq ft, built 10 ft wide × 15 ft long.
If your answer comes out much over 300 sq ft, the manual says to split it into two or more smaller gardens rather than build one large one.
Three authorities, three different answers
None of these sources is wrong. They are answering different questions, and knowing which is which is the whole skill.
| Source | Rule | For 600 sq ft of roof runoff |
|---|---|---|
| Missouri Botanical Garden, citing a USGS 5:1 ratio | 20% of drainage area | 120 sq ft |
| WDNR / UW-Extension size factors | 3%–43%, by soil, depth and distance | 18–258 sq ft |
| DC DOEE RiverSmart rebate | 1:10 garden to impervious area | 60 sq ft, minimum 50 sq ft |
The 5:1 rule is a starting point for a first sketch. The factor tables are a design. The DC ratio is a rebate eligibility floor — the least a programme will pay for, not the size that handles your roof. Treat a municipal minimum as a minimum.
Missouri Botanical Garden adds the piece of context that explains all three: in the St. Louis region, “Ninety percent of storms… are 1.14 inches of rainfall or less.” A rain garden is sized for the ordinary storm, not the flood. It is not a flood-control device and nobody should sell you one as such.
Depth comes from your slope, not your preference
Measure the fall across the site first. Drive a stake at the uphill and downhill edges of the proposed garden, run a level string between them, and measure the drop. Drop divided by horizontal distance, times 100, is your percent slope.
| Lawn slope | Build the garden |
|---|---|
| Under 4% | 3–5 inches deep |
| 5–7% | 6–7 inches deep |
| 8–12% | About 8 inches deep |
| Over 12% | Find another site, or get a professional |
The reason depth tracks slope is geometric, not hydrological. The basin floor must be level, so on a slope you cut into the uphill half and fill the downhill half. The steeper the ground, the deeper that cut has to be before the floor comes flat. The manual’s own warning: a garden 10 feet wide on a 10% slope has to be 12 inches deep just to be level. Past about 12%, the excavation stops being a weekend job.
That also caps the width. Ten feet is the practical sweet spot; about 15 feet is the maximum, especially over an 8% slope. Beyond that you are importing soil to fill the downhill half. If you are working with real gradient, landscaping on a slope covers the retaining options that come before a rain garden is even viable.
Two tests that decide whether you can build one at all
Do these before you buy a single plant. Both come from the same manual and both are go/no-go.
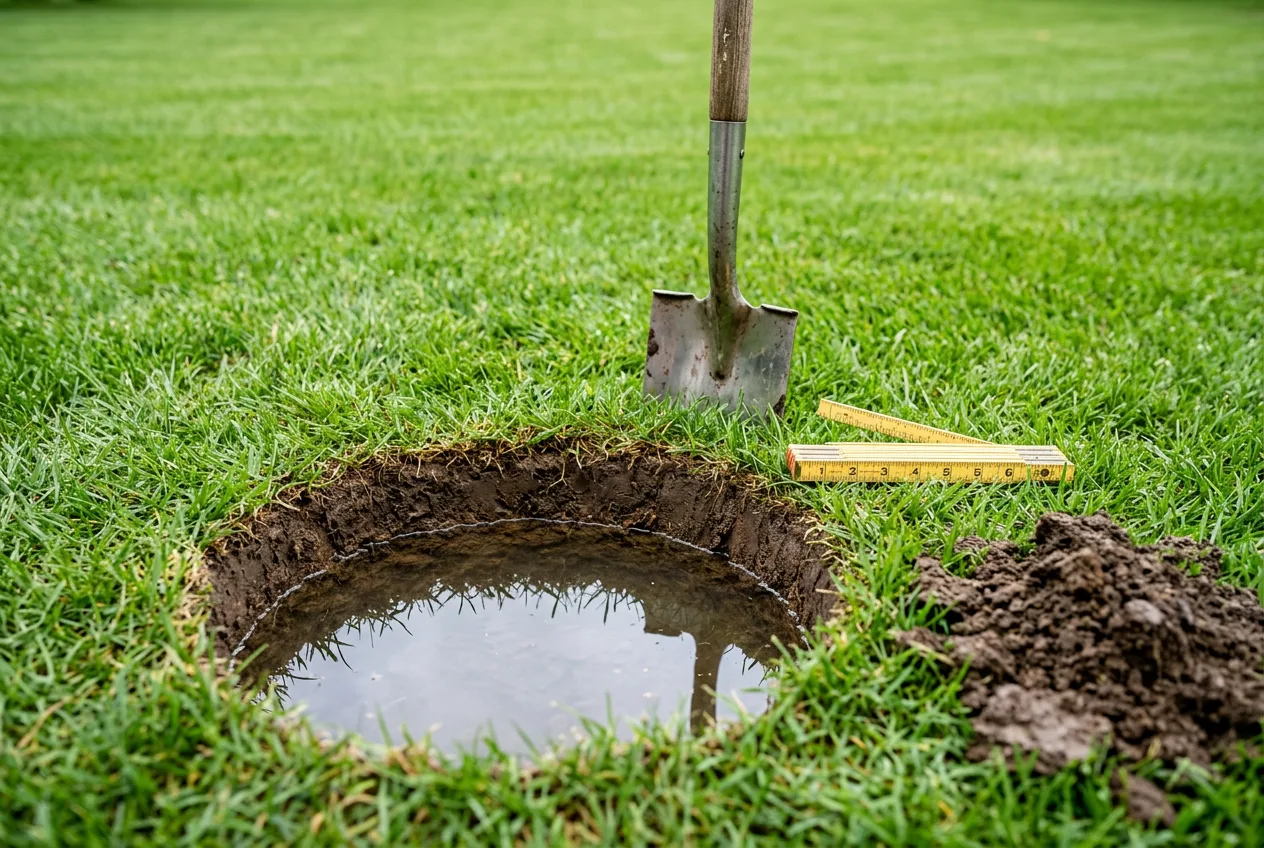
1. The hole test. Dig a hole about six inches deep where the garden will go and fill it with water. “If the water takes more than 24 hours to soak in, the soil is not suitable for a rain garden.” No amendment rescues a site that fails this; you are looking at an underdrain or a different tool entirely.
2. The ribbon test. Dampen a handful of soil, knead it, squeeze it into a ball, then push it up between forefinger and thumb into a ribbon and let it extend until it breaks under its own weight. “If the soil forms a ribbon more than an inch long before it breaks, and it also feels more smooth than gritty, the soil is not suitable.”
The ribbon test is also how you pick your row in Table 1. Gritty and coarse is sandy. Smooth but not sticky is silty. Very sticky and clumpy is clayey — and a clayey ribbon over an inch is your answer on both counts.
Where it goes
- At least 10 feet from the house. Any closer and infiltrating water can reach the foundation. This is the rule, not a suggestion.
- Never directly over a septic system, and keep clear of a wellhead.
- Not in the existing wet patch, for the reason above.
- Call 811 before you dig. A six-inch basin is shallow, but the berm, the downspout extension and any buried pipe are not.
- Full sun or part sun. Most rain garden plants want it, and a sunny basin dries faster between storms.
If the downspout is far from the only good site, run a buried PVC extension from the downspout to the garden rather than cutting a swale across the lawn — and then size it as a near garden using Table 1, because the lawn no longer gets to absorb anything on the way.
Shape, and the berm that does the work
Runoff has to spread across the whole floor, not pool at one end and spill. Three rules follow from that:
- Long side perpendicular to the slope. The length faces uphill so the garden catches the full width of the sheet flow.
- About twice as long as it is wide. Divide your target area by your chosen width to get the length.
- The floor must be flat. Lay a 2×4 with a carpenter’s level on it across the dug basin in several directions, and cut down the high spots and fill the low ones until it reads level everywhere.
The berm is the low wall of excavated soil around the three downhill sides that holds water in. It has to be highest at the lowest point of the site, which is the opposite of what intuition suggests. Cover it with mulch or grass immediately — a bare berm erodes in the first storm, and straw or an erosion-control mat while the grass establishes is cheap insurance.
If you are adding compost to the basin, dig one to two inches deeper than the target so the finished floor still sits at the planned depth.
Planting: three bands, not one plant list
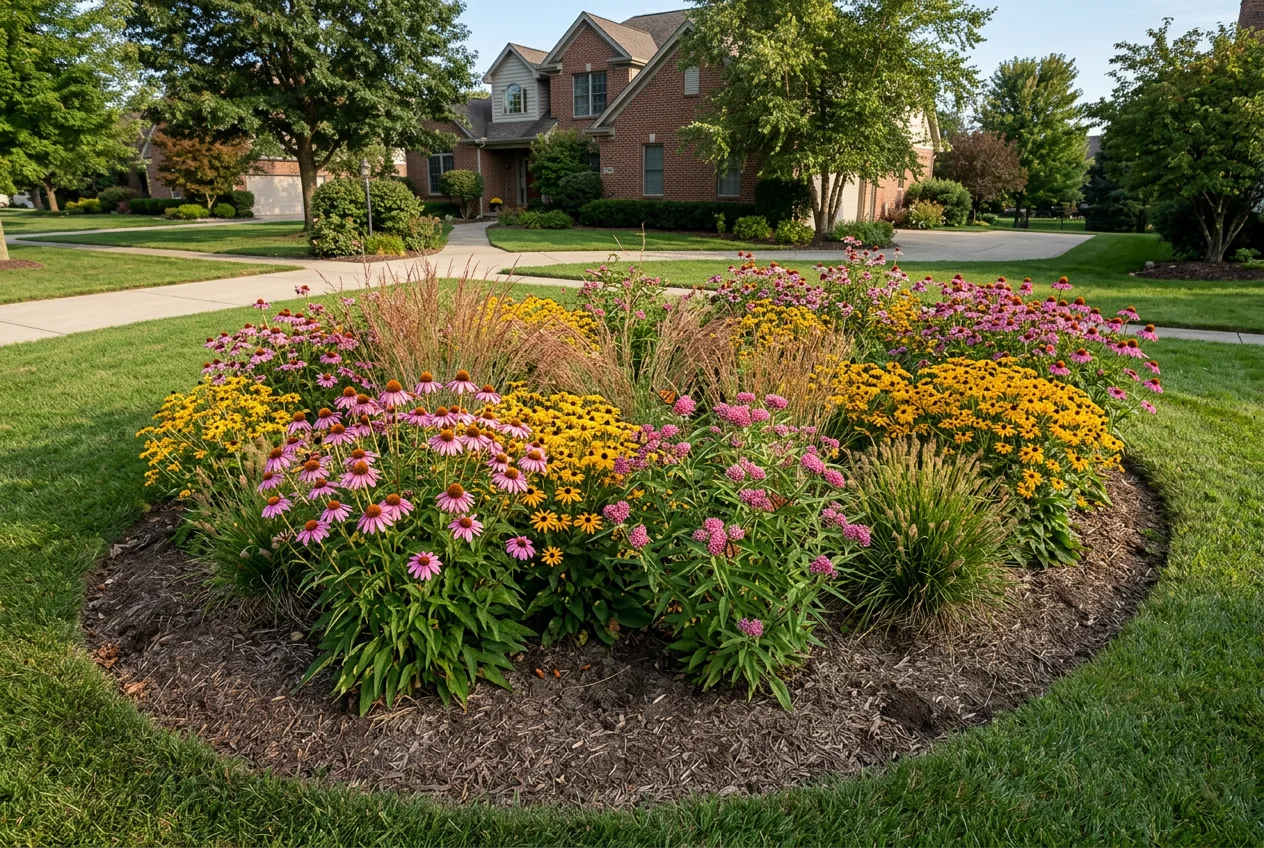
A rain garden has a moisture gradient built into it, and planting it as one uniform bed is why so many look patchy by year two.
- The floor is the wettest band. It takes standing water for a few hours at a time and then dries. Sedges, rushes and moisture-tolerant perennials: fox sedge (Carex vulpinoidea), swamp milkweed (Asclepias incarnata), blue flag iris (Iris versicolor), Joe Pye weed (Eutrochium spp.).
- The side slopes are intermediate. Switchgrass (Panicum virgatum), purple coneflower (Echinacea purpurea), black-eyed Susan (Rudbeckia hirta), New England aster (Symphyotrichum novae-angliae).
- The berm and rim are the driest ground on the site — drier than the surrounding lawn, because they are raised. Little bluestem (Schizachyrium scoparium), prairie dropseed (Sporobolus heterolepis), and anything you would put in a dry border.
Use plants native to your region. That is not only an ecological preference: several rebate programmes require it outright, and a native mix is what gives you the deep root systems that keep infiltration rates up over time. A useful rule from the manual is to mix sedges, rushes and grasses through the flowering perennials rather than planting them separately — most of the biomass in a native prairie community is underground, and once that root mass knits, weeds decline on their own. Our guide to native plants for pollinators covers choosing for your region; check the species against your zone with the USDA zone plant guide before you order.
Mulch the bed about two inches deep with double-shredded hardwood — it holds together in moving water where bark nuggets float out. Mulching properly matters more here than in an ordinary bed for exactly that reason. After the second growing season, mulch is optional unless you want the look.
What it costs, and what a rebate actually pays
Rain gardens are one of the few landscape features a municipality may pay you to build, because your basin is cheaper for them than a bigger storm sewer. But the headline rates are not comparable, and this catches people out constantly: programmes quote against different denominators.
| Programme | Rate | Quoted against | Cap | Key conditions |
|---|---|---|---|---|
| DC DOEE RiverSmart | $41 / sq ft | Garden area | $3,000 | District residents; min. 50 sq ft garden; min. 400 sq ft impervious directed in; 1:10 garden-to-impervious ratio; Chesapeake Bay watershed natives only; pre- and post-construction inspection |
| Seattle RainWise | up to $13.12 / sq ft | Roof area treated | — | Property in a RainWise-eligible area, on the combined sewer, using a RainWise-trained contractor |
Those two rates look like a threefold difference. They are not measuring the same thing. DC pays per square foot of garden you dig; Seattle pays per square foot of roof you disconnect. A 150 sq ft garden treating 600 sq ft of roof would be paid on 150 in DC and on 600 in Seattle. Some programmes — Elmhurst, Illinois among them — pay per cubic foot of storage instead, which is a third denominator again.
Two things follow. First, read your own programme’s terms page, not a blog’s table (this one included): rates, caps and eligible areas change year to year, and the conditions are usually where the money is won or lost. Second, ask separately about a stormwater fee credit — several utilities bill a stormwater charge by impervious area and discount it permanently for a retained practice, which can be worth more over a decade than the one-off rebate.
Unsubsidised, a DIY rain garden is mostly plants and mulch: the excavation is a spade and a weekend, and the plant list is the budget. Contractor-built, you are paying for excavation, soil amendment, the downspout connection and the planting.
Maintenance, year by year
Year one. Water like any new planting until established. Weed by hand and pull only what you are certain is a weed — young native seedlings and young weeds look alike, and this is the year most rain gardens get accidentally weeded out.
Year two. Less watering, still some weeding. Re-mulch if it has thinned.
Year three onward. The grasses, sedges and wildflowers mature, out-compete most weeds and largely look after themselves. Cut the whole thing back in late winter — a string trimmer at 6–8 inches is the usual method — and remove or compost the material. Check the berm and the inlet after heavy storms for erosion or silt, and clear the inlet if runoff has deposited grit there.
Frequently asked questions
Do rain gardens breed mosquitoes? No, and the mechanism is the timing. Mosquitoes need 7 to 12 days to lay and hatch eggs; a working rain garden holds water for hours after a storm, not days. The manual notes you are far likelier to breed mosquitoes in a bird bath or a blocked gutter — and that rain gardens attract dragonflies, which eat them. A basin that does hold water for days is a failed rain garden, and that is the thing to fix.
Will it damage my foundation? Not at 10 feet or more from the house, which is why that setback is the first rule. Closer than that, infiltrating water can reach the foundation, and the answer is to move the garden or pipe the downspout out to it, not to shrink the setback.
Rain garden or bioswale? A rain garden is a basin that holds and infiltrates in place. A bioswale is a planted channel that conveys water while infiltrating along the way. Use a swale when you need to move runoff from one place to another — along a driveway, for instance — and a garden when you have somewhere for it to sit. They are often used together: the swale delivers, the garden absorbs.
Does a rain garden work in clay? Sometimes. Clay gets the largest size factor (0.43 shallow, near the downspout) precisely because it infiltrates slowly, so the garden has to be bigger to compensate. But the 24-hour hole test is the arbiter: clay that drains inside a day can host a rain garden if you size it correctly; clay that does not, cannot, and no amount of compost changes that reliably.
Do I need a permit? Usually not for a shallow residential basin, but call your local stormwater or building department before you dig — particularly if you are near a septic field, a slope, a property line or a public right of way. If you are claiming a rebate, the programme will almost certainly require a pre-construction approval anyway.
Can it go along a driveway? Yes, and it is a good use of the space — driveway runoff is a large impervious area with nowhere to go. Size it on the driveway area rather than a roof share, and keep the same 10-foot setback from the house. Our driveway landscaping ideas cover the planting and edging options that work alongside one.
Seeing it before you dig
The hardest part of a rain garden is not the arithmetic — it is picturing a 10 × 15 ft basin in a lawn you have looked at for years, and knowing whether the shape sits right next to the house, the path and the fence. That is the step where most projects stall.
Hadaa takes a photo of your yard and returns photorealistic designs of the same space, with every plant checked against your USDA hardiness zone, rainfall and sun exposure, plus a planting guide and a bill of quantities you can hand to a contractor. If you are weighing a rain garden against a dry border or a broader lawn-free scheme, it is a cheap way to see all three in your own yard before a spade goes in.
Size it from the tables, test the soil before you commit, and build the floor flat. Everything else is planting.