
Garden Path Width, Materials & Walkway Ideas: The Complete Guide
Winnie Astrid
Garden Design Editor
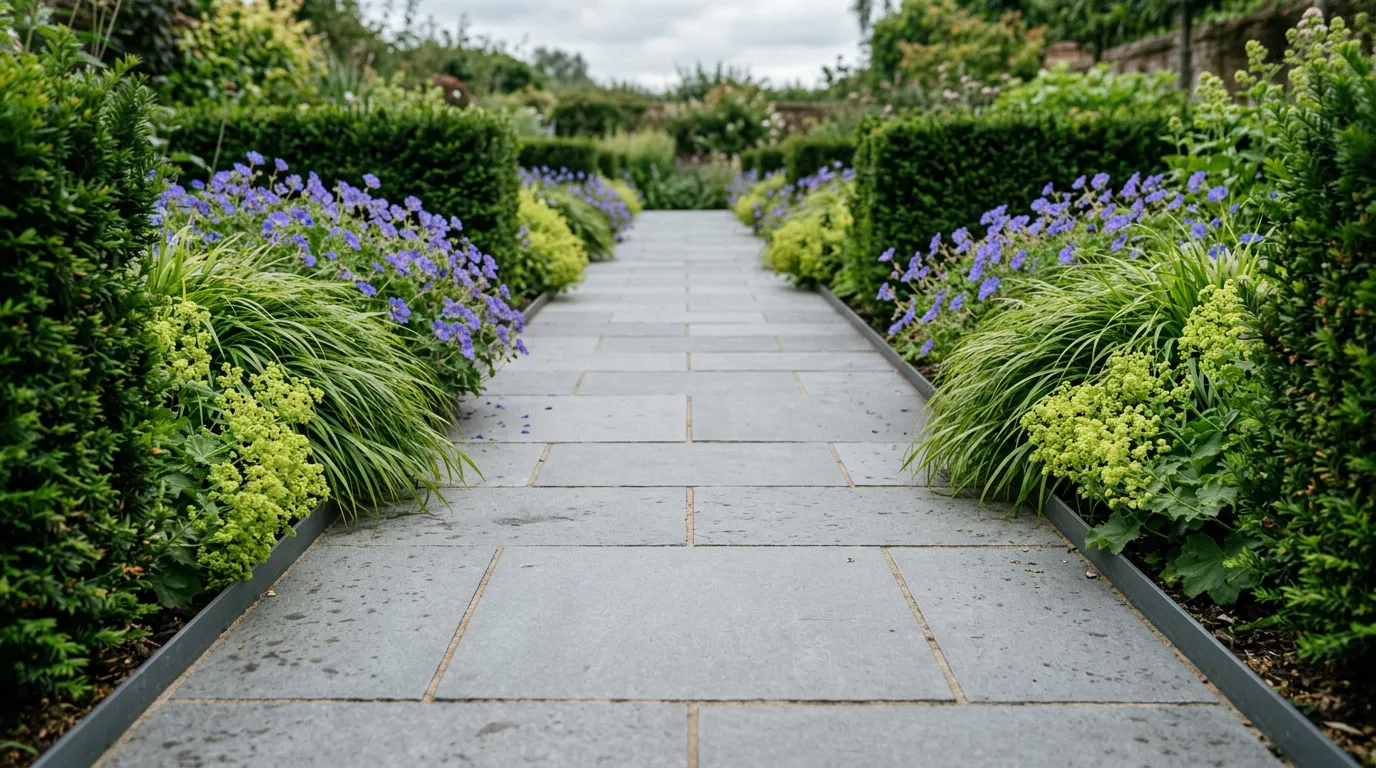
A garden path should be 900mm (36 inches) wide. That is not a rule of thumb — it is the figure both of the English-speaking world's accessibility standards arrive at independently. The US 2010 ADA Standards set the minimum clear width of a walking surface at 36 inches (915mm) in §403.5.1; the UK's Approved Document M, Volume 1 requires an approach route to a new dwelling to be a minimum of 900mm wide at paragraph 1.6(c). Narrower works, and this guide says where. But 900mm is the number to beat, and almost no path guide on the web will tell you where it comes from. Below: the full width table from both standards, the cross-fall limit that decides whether your path drains or puddles, materials with per-m² costs, laying patterns, edging, and lighting.
How Wide Should a Garden Path Be? The Two Standards
Every path guide gives a width. Almost none says where the number came from, which is why the advice ranges from 450mm to 1.5m with no way to tell which is right for you. There are, in fact, two measured answers — one American, one British — and they agree more closely than the blogs do.
Width, by standard
| Situation | US — 2010 ADA Standards | UK — Approved Document M, Vol 1 |
|---|---|---|
| Plain run, one person | 36 in (915mm) minimum — §403.5.1 | 900mm minimum — ¶1.6(c) |
| Squeeze past a single obstruction | 32 in (815mm) for no more than 24 in (610mm) of length, with full-width segments at least 48 in (1220mm) long either side — §403.5.1 exception | 750mm at a localised obstruction, no longer than 2m, and never opposite a doorway or at a change of direction — ¶2.9(b), ¶2.9(d) |
| 180° turn round a narrow element | 42 in (1065mm) approaching, 48 in (1220mm) at the turn, 42 in leaving — §403.5.2 | Not specified; obstructions banned at changes of direction instead |
| Two people passing | 60 in (1525mm). Below that, a 60 × 60 in passing space is needed every 200 ft (61m) — §403.5.3 | 1200mm on communal routes (1050mm at obstructions) — ¶2.9(c) |
| Cross fall (side-to-side slope) | No steeper than 1:48 (about 2%) — §403.3 | No steeper than 1 in 40 (2.5%) — ¶1.6(c) |
| Running slope before it counts as a ramp | 1:20 (5%). Steeper and it is a ramp: 1:12 maximum, with handrails and landings — §403.3, §405.2 | Ramps run between 1:20 and 1:12; flights 900mm wide minimum, landings 1200mm — ¶1.7, ¶2.10 |
| Beside a parked car | Not specified for walking surfaces | An extra 900mm beside the driveway so a wheelchair can pass the car — ¶1.6(d) |
Sources: 2010 ADA Standards for Accessible Design, §§302, 403, 405 (US Access Board); Approved Document M, Volume 1, 2015 edition with 2016 amendments, requirements M4(1) and M4(2).
The honest caveat: neither standard governs your back garden. The ADA applies to places of public accommodation and commercial facilities, not private residences. Approved Document M is checked at building control on a new dwelling and covers the approach route to the front door, not a path you add to an existing garden five years later. Nobody is going to measure your borders. But these are the only widths in the field that were arrived at by measuring people rather than by eye — so when a guide tells you 450mm is fine for a "service path", it is telling you something half the accessible minimum, and on the day somebody arrives with a walking frame, a pushchair, or a wheelbarrow of topsoil, you will find out why the number exists.
Primary paths — those running from the house to a gate, seating area, or utility zone — should therefore be 900mm (36 inches) and no less. That is the one width both standards agree on, and it also happens to leave visual breathing room on both sides. For social spaces where two people walk together, go to 1.2–1.5m; the ADA's own passing figure is 1525mm.
Secondary paths between planting beds can run narrower — 750mm, matching Part M's obstruction allowance, works where the beds are low and the path is not a daily thoroughfare. Treat anything below 750mm as a deliberate pinch point rather than a width: keep it short (Part M says no longer than 2m; the ADA says 610mm), and never put it on a corner or at a doorway, which is exactly where both standards forbid it.
Cross fall is the number everyone omits, and it is the one that decides whether the path works in rain. Both standards land in the same half-percent: 1:48 in the US, 1 in 40 in the UK — roughly 20mm of fall across a 900mm path. Less than that and water sits on the surface and freezes; much more and a wheelbarrow, a wheelchair and a pushchair all pull steadily to one side. Set the fall away from the house, towards a border or a gravel margin that can take the water.
Proportion then governs the relationship between path width and the surrounding space. A 900mm path in a 3m-wide garden reads as a corridor. The same path in a 10m-wide garden reads as a gentle line. Sketch both scenarios — or use Hadaa's AI landscape design tool to render them — before committing to a width.
Materials Compared: What Each One Actually Costs to Live With
Natural Stone
Granite is the most durable natural stone and handles heavy frost without spalling. Slate is visually dramatic but soft — it chips under heavy foot traffic and point loads. Limestone is beautiful but porous; it stains from tannins and oils and requires sealing every 3–5 years in high-use areas. Sandstone sits between the two: harder than limestone, softer than granite, excellent texture for grip.
All natural stone requires a proper mortar bed (25–50mm) over a compacted sub-base. Self-laying is possible for experienced DIYers but professional installation is strongly recommended for natural stone to avoid uneven settlement and grout failure.
Verdict
The highest-quality long-term choice for primary paths in formal or traditional gardens. Budget at least £100/m² installed for granite or sawn slate if you want results that look as good in 30 years as they do on day one.
Concrete Pavers
Porcelain and pressed concrete pavers in large formats (600×600mm, 600×900mm) have transformed the concrete paver market. Well-chosen jointing — polymeric sand in a near-matching tone — makes a modern large-format concrete path visually indistinguishable from natural stone in renders and photographs. The key quality indicator is the surface texture: riven or textured finishes hide minor surface variation; polished finishes expose every imperfection.
Porcelain pavers are frost-proof and stain-proof but require a diamond blade for cutting — factor this into the cost. Standard pressed concrete is more forgiving to cut but may spall at the edges on frost/thaw cycles if below-grade quality.
Verdict
The best value material for contemporary gardens. Spend on large-format porcelain if budget allows; the per-square-metre cost is higher than standard concrete but installation is faster (fewer pieces) and longevity is superior.
Gravel & Decomposed Granite
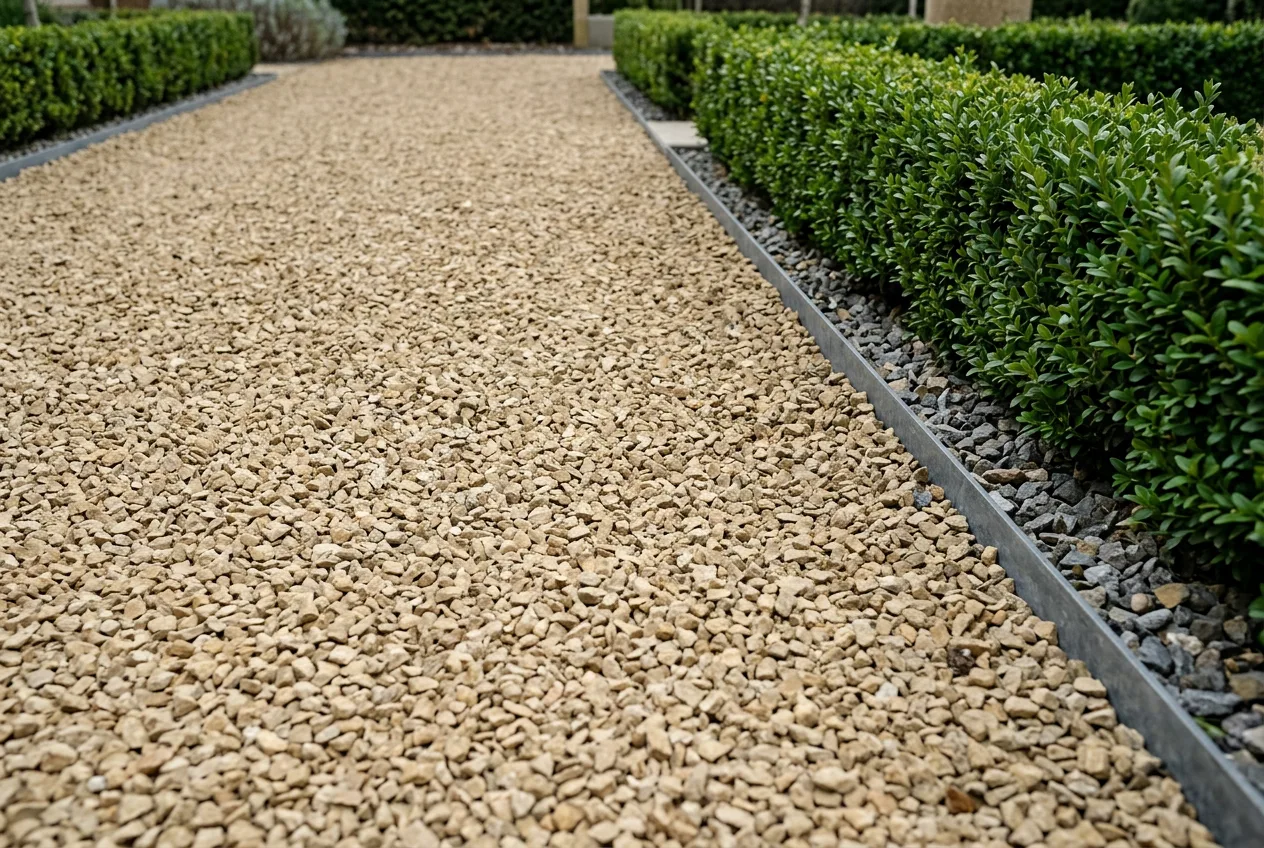
Gravel paths require a well-contained edge to stay in shape. Without a metal or masonry boundary, gravel disperses into adjacent beds within one or two seasons. Decomposed granite compacts better and migrates less than loose gravel, making it a more practical choice for curved paths and high-traffic areas. Both materials are permeable — a significant advantage in gardens where surface water runoff is a planning consideration.
The gravel that works and the gravel that doesn't is a specification, not a preference. The ADA requires a walking surface to be "stable, firm and slip resistant" (§302.1), and the US Access Board's guidance for outdoor developed areas is unusually specific about which loose materials make that grade: crushed rock rather than uncrushed gravel, stones with broken faces rather than rounded ones, a mixture carrying the full spectrum of sieve sizes including the fines, passing a ½-inch screen, compacted in 75–100mm (3–4 inch) layers. Pea gravel — rounded, single-sized, no fines — fails every one of those tests, which is the technical reason it rolls underfoot and ruts under a wheelbarrow. Angular 10mm crushed stone with fines, or decomposed granite, compacted in layers, genuinely does set up firm. Chapter 10 also notes that soil stabilisers and synthetic binders can take a natural material to firm and stable without changing how it looks.
And joints have a limit. ADA §302.3 bans any opening in a ground surface that will pass a ½-inch (13mm) sphere, and requires elongated openings to run perpendicular to the direction of travel. That is a wheel-and-walking-stick rule, and it quietly rules on three popular choices: crazy paving with wide mortar-less joints, stepping stones with planted gaps, and any drainage channel laid along the path rather than across it. If you want planted joints anyway — and they are lovely — keep them off the line people actually walk, and run a 900mm band of tight-jointed paving through the middle.
Verdict
Best for informal, cottage, or Japanese-style gardens where the texture and sound of gravel are design assets. Invest in quality metal edging — it makes or breaks the finish.
Clay Brick & Setts
Clay engineering brick and granite setts are the materials of choice for period terraces and formal gardens. Their small format makes them ideal for curved or radiating patterns — herringbone, basketweave, fan — without cutting. In contemporary settings, dark basalt setts used as path insets within larger-format slabs create a strong contrasting detail.
Verdict
Excellent where curves, pattern, and period character are priorities. Granite setts outlast clay brick in freeze-thaw climates.
Laying Patterns: How Orientation Changes a Path's Perceived Direction
The pattern in which pavers or bricks are laid affects how the path reads in the garden — whether it appears to stretch forward (directional) or settle into the space (static). Understanding this changes how you use pattern as a design tool, not just an aesthetic choice.
Running Bond (Stretcher)
Bricks or pavers laid in offset horizontal rows. When laid perpendicular to the path direction, it creates a strong forward-pull illusion that makes a path feel longer. Parallel to the path, it feels static and wide. The most common small-format pattern; clean and directional.
Herringbone
Interlocking 45° or 90° pattern. Visually neutral — no strong directional pull. Excellent structural performance for driveways and paths with regular foot traffic as it distributes load across all units. Requires cutting at the edges.
Stack Bond
All joints aligned in both directions. Creates a grid pattern that reads as contemporary and precise. Demands very accurate laying and consistent paver dimensions — any variation is immediately visible. Best for large-format concrete or porcelain where tolerances are tight.
Irregular / Crazy Paving
Random-shaped pieces set in mortar with varied joint widths. Suits informal, cottage, and rural styles. Natural stone irregular paving reads as high-end; concrete irregular paving reads as dated unless executed in premium materials with tight joints. Allow 20–30% wastage for cuts.
Edge Treatments: The Detail That Makes or Breaks a Path
The edge of a garden path is where the design is most visually tested. A clean edge with considered detailing elevates even a budget material. A slumped, weed-invaded edge undermines even expensive stone.
Corten steel edging is the contemporary standard: it forms a warm rust patina that complements natural stone, brick, and planting equally. Available in depths from 50mm (for decorative edging) to 200mm (for retaining gravel paths on a slope). Set it flush with the surface for a minimal flush joint.
Timber sleeper edging suits rustic and cottage gardens. New hardwood sleepers last 15–20 years; reclaimed railway sleepers are romantic but variable in quality. Secure with timber stakes driven flush below ground level to prevent the edge rising on freeze-thaw cycles.
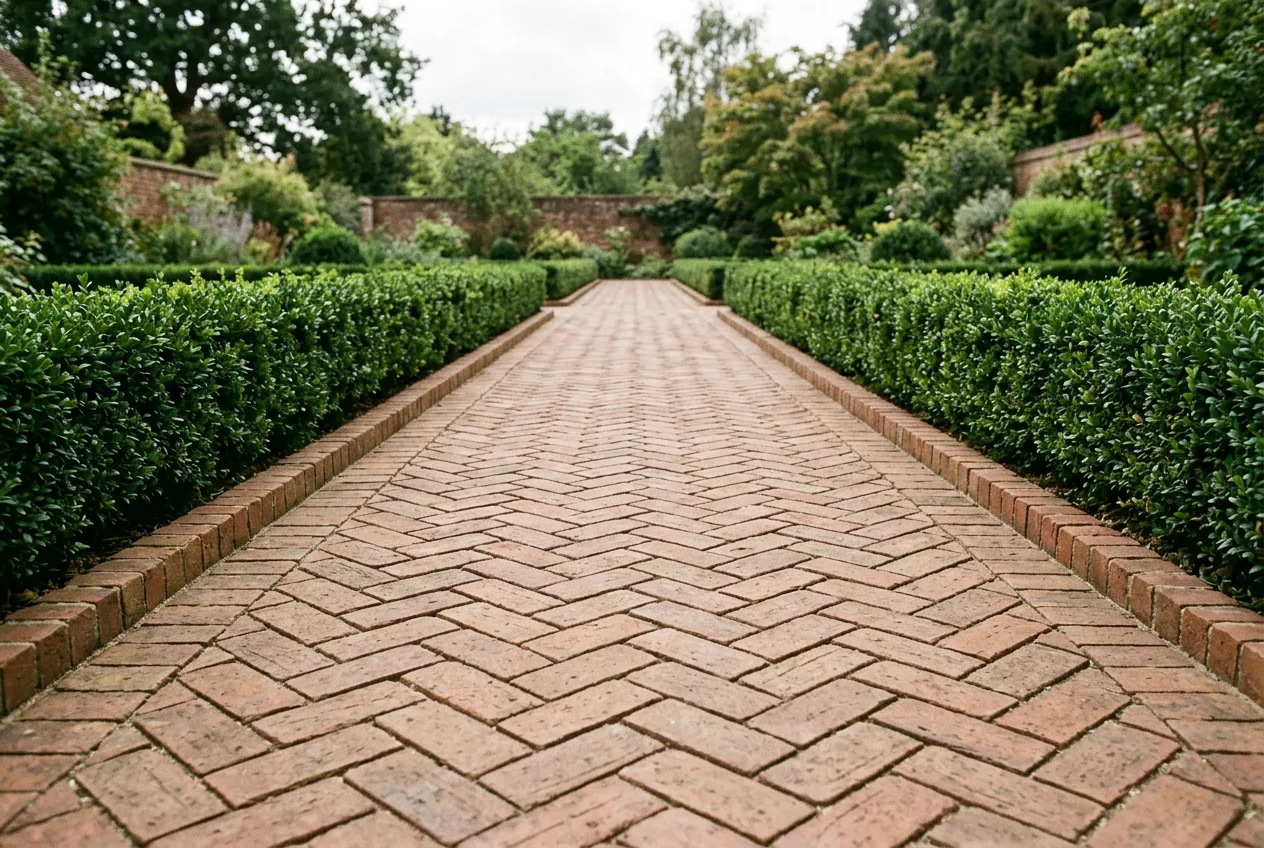
Brick-on-edge is the traditional treatment for formal gardens and period homes. Laid perpendicular to the path surface, it creates a defined raised edge with no additional materials. Most effective with engineering brick or clay paver to match the path material.
Planted edges — low thyme, chamomile, ajuga, or clipped box — are not a structural edge but a design one. They blur the hard boundary of the path into the planting and suit informal or naturalistic gardens. They require maintenance to prevent encroachment onto the path surface.
Curved vs Straight: When Each One Serves the Design
The choice between a straight and a curved path is a spatial decision, not just an aesthetic one. Straight paths work where formality, symmetry, or the desire to move quickly between two points governs the design. They read as considered and intentional — particularly in formal and contemporary gardens where geometry drives the layout.
Curved paths work where the journey is the point, not the destination. A gently curving path through a planted border extends the spatial experience of a small garden by preventing the eye from reading the full length in one glance. Curves require a reason — a planting feature to move around, a change in level, a view to extend. A curve without a spatial justification reads as arbitrary and is harder to maintain a neat edge on.
The material you choose constrains the curve you can achieve. Large-format slabs cannot curve without cutting. Brick, setts, and gravel curve freely. If you have your heart set on a specific material, design the path geometry around what that material can do — or budget for specialist stone cutting.
Want to test both options in your garden before committing? Try Hadaa's AI design tool — upload a photo of your garden and generate photorealistic renders showing straight and curved paths side by side.
Lighting Integration: How to Illuminate a Path Without Ruining It
Path lighting is one of the easiest design decisions to get wrong. The two most common failures are overlighting (paths that look like airport runways at night) and visible fitting hardware that clutters the daytime view. Both are avoidable.
Recessed in-ground lights flush-set into the path surface or edge material are the most design-coherent option. They disappear during the day and cast a warm glow across the surface at night. They require an electrician and IP67-rated fittings — do not compromise on the IP rating for outdoor in-ground applications.
Low-voltage LED path stakes at 1.2–1.8m spacing provide functional safety lighting without requiring professional installation. Choose fittings with a downward-facing shade to prevent glare at eye level. Dark bronze or black finishes disappear better against planting than polished stainless steel.
Wall-mounted or post-mounted lights aimed at the path surface from the side create dramatic shadow play across textured materials — particularly effective with brick herringbone and riven stone. This technique is more architectural and requires a higher budget but transforms the evening experience of a garden.
Plan lighting at the design stage, not after installation. Cable routes need to be laid below the sub-base before the path is laid. Retrofitting path lighting through an existing hard surface is expensive and disruptive.
Design Your Garden Path with AI Before You Build Anything
Path design involves a sequence of interdependent decisions — width, material, pattern, edge, lighting — that are difficult to evaluate in isolation. Changing the material late in the process may require changing the edge treatment; changing the width changes the proportional relationship with the planting borders. Visualising these decisions together, in your actual garden, is the most reliable way to avoid expensive mistakes.
Hadaa lets you upload a photo of your garden and generate photorealistic renders showing different path configurations — natural stone vs concrete, straight vs curved, lit vs unlit — before you commit to any excavation or materials spend. You can also explore how the path interacts with other hardscape elements like patios, retaining walls, and planting beds.
For context on how AI-generated garden designs work in practice, read our guide to what AI garden design actually is — including what it can and can't replace in a professional design process.
How Hadaa helps
- Upload your garden photo — any angle, any season, any quality
- Visualise multiple path configurations — materials, widths, and edge treatments rendered realistically
- Iterate instantly — change a material or layout without committing to an excavation
Frequently Asked Questions
How wide should a garden path be?
Which garden path material lasts the longest?
How deep should the sub-base be for a garden path?
What is the best material for a curved garden path?
How do I stop weeds growing through my garden path?
Can I design a garden path with AI?
What edge treatment works best for garden paths?
How do I integrate lighting into a garden path?
AI Garden Design
See Your Garden Path Before You Build It
Upload a photo of your garden and generate photorealistic renders showing different path materials, widths, and edge treatments — all in your actual outdoor space.


